How to... make a dry erase board
Whiteboards are the new blackboards. Create your own and you have a fun and functional tool for kids that are back in school.
What you'll need:
- Plywood
- High-quality transparent tape
- Clean rag
- 120 grit sandpaper
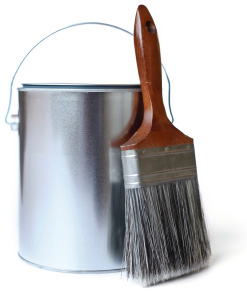
- Paint brushes
- Paint primer
- Dry-erase paint
Step 1: Prepare the surface
Prepare the surface that you'll be painting, using tape to mask off the areas that you don't want painted. Wipe off any dirt or dust with the rag. You might want to lightly sand the plywood to make sure that the surface is smooth enough to write on. Wipe off any additional dust.
Step 2: Prime the board
Prime the surface using a high-quality primer; two coats give the best results. The primer should dry in about an hour. Once the primer is dry, give it another wipe with the rag to get rid of any dust.
Step 3: Mix and paint
When you purchase the dry-erase paint, you will receive two canisters. Mix the two canisters -- but don't mix more than you're ready to use. Once the liquid is combined you only have an hour and a half to apply the paint.
Once the paint is mixed, apply the paint, working in 2-foot areas. The dry-erase paint cannot be spread out, so remember to apply generously to every inch of the surface. For best results, paint the surface meticulously, in a grid pattern.
Step 4: Let dry
It usually takes seven days for the paint to dry completely. Take off the tape and feel free to customize the borders to your liking. Add a hook or staple a ribbon to the back so you can hang it up. Whatever you do, the kids are sure to write, erase and repeat!
More back-to-school decorating ideas
How to make your own chalkboard paint
How to use chalkboard paint
How to decorate a dorm room