Image may be NSFW.
Clik here to view.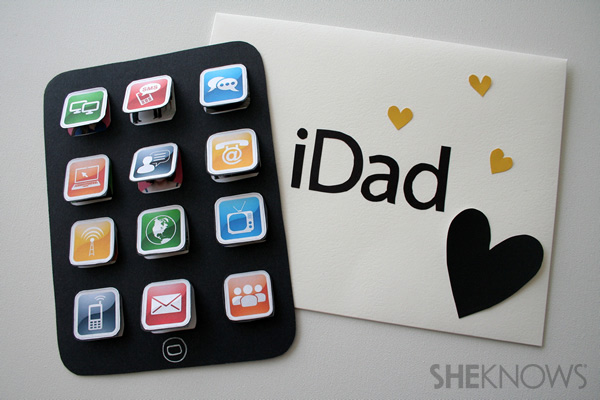
Supplies
- 2 pieces of 8-1/2 x 11-inch black card stock or construction paper
- 1 piece of 8-1/2 x 11-inch white card stock or copy paper
- iDad card template
- iDad envelope template
- Cutting mat
- X-Acto knife
- Scissors
- Newspaper
- Glue stick
- Spray glue
- Images of icons
- Optional: Photos
- Optional: Large envelope
Image may be NSFW.
Clik here to view.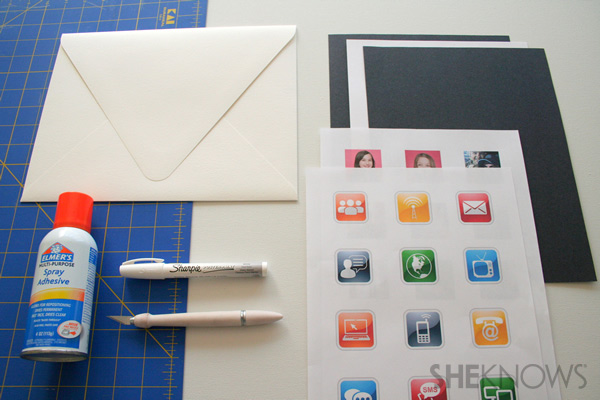
Instructions: iDad Father's Day card
Step 1: Print templates 1 and 2 and cut out the front and back pieces of the card with template 1.
Image may be NSFW.
Clik here to view.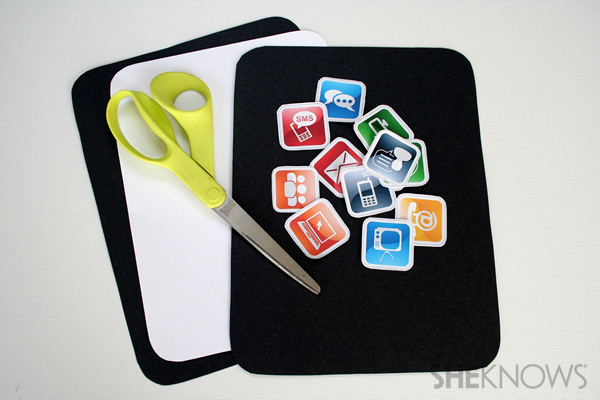
Step 2: Use template 2 to cut out the inside of the card .
Step 3: Glue the white piece to one of the black pieces and set it aside.
Image may be NSFW.
Clik here to view.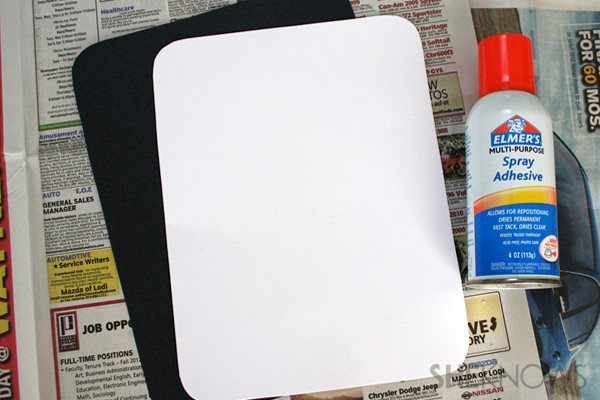
Step 4: Locate images to use as your icons on the iDad card. We bought these on iStockphoto.com. You could also do a Google image search for icons — look for medium-sized images for better quality. Save the images and import them into a Word doc, reducing them to consistent size .
Step 5: If you are going to put photos underneath your flaps, assemble them in a Word doc, the same way and the same size as the icons.
Step 6: Cut out the icons and the photos.
Step 7: Spread out some newspapers to protect your work surface. Arrange the icons on the other piece of black card stock/paper and glue them down. Let dry for a couple of minutes.
Image may be NSFW.
Clik here to view.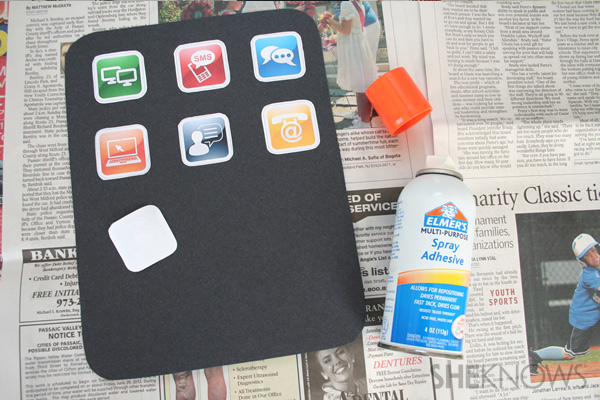
Step 8: With a cutting mat underneath, cut around the two sides and the bottom of each icon with an X-Acto knife, creating lift-up flaps with the icons.
Image may be NSFW.
Clik here to view.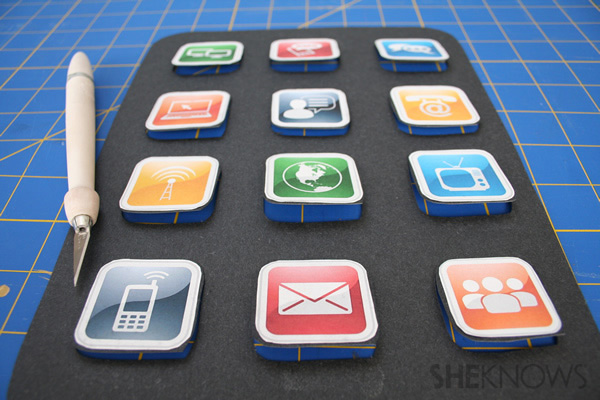
Step 9: Line up the top and the bottom pieces of the card and trace around the inside of the flap to mark where you will glue the photos that will appear underneath the flaps.
Image may be NSFW.
Clik here to view.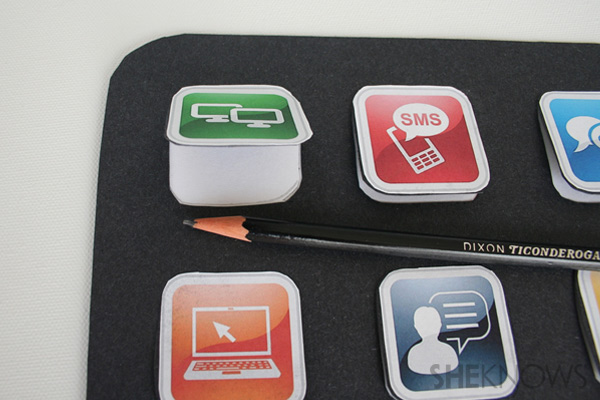
Step 10: Set the top piece of the card aside and on the bottom piece, glue the photos down over the squares you just traced, leaving the last three squares for your Father's Day message.
Image may be NSFW.
Clik here to view.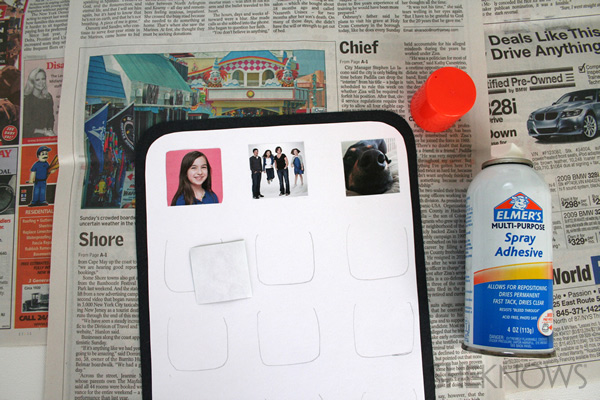
Step 11: Write your Father's Day messages in the last three squares.
Image may be NSFW.
Clik here to view.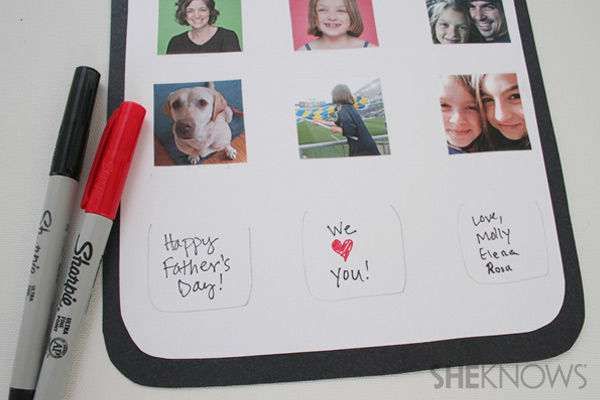
Step 12: When the photos and messages are done, erase all remaining pencil marks.
Image may be NSFW.
Clik here to view.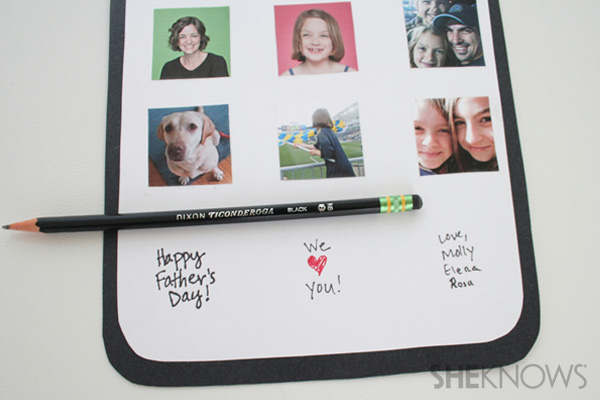
Step 13: Use a glue stick to glue the top piece to the bottom piece. Glue around the flaps, so that you don't accidentally glue any of them shut. Your flaps and photos/drawings underneath should line up perfectly.
Image may be NSFW.
Clik here to view.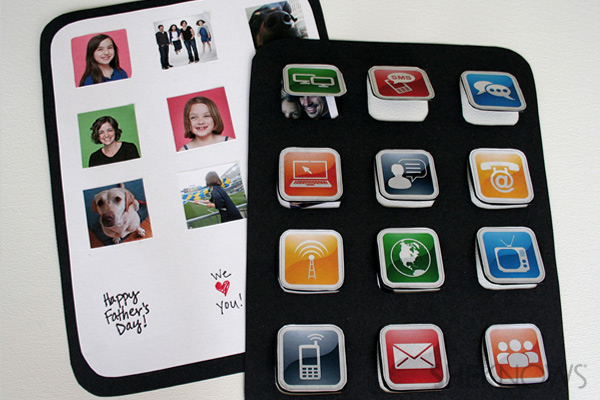
Step 14: To finish the iDad Father's Day card, trace around a dime for the button. Use a white gel pen or Sharpie to draw the circle/button.
Image may be NSFW.
Clik here to view.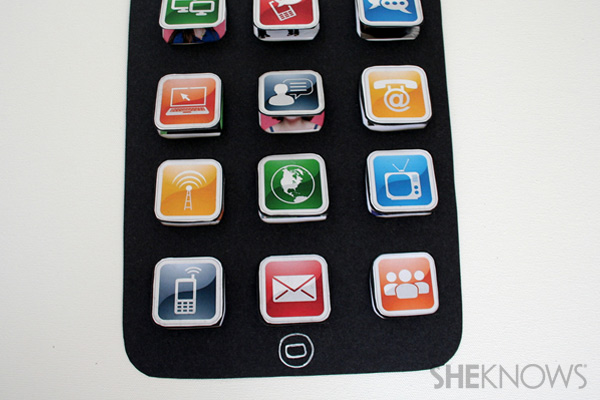
Instructions: Envelope
Step 1: Print out the template on a colorful piece of paper. If using black paper, print out the template on white paper, place it on top of a black piece of paper and cut around the letters.
Image may be NSFW.
Clik here to view.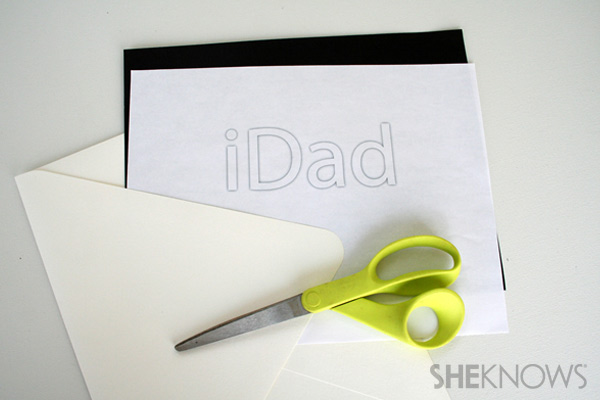
Step 2: Cut out the inside of the letters with an X-Acto knife.
Image may be NSFW.
Clik here to view.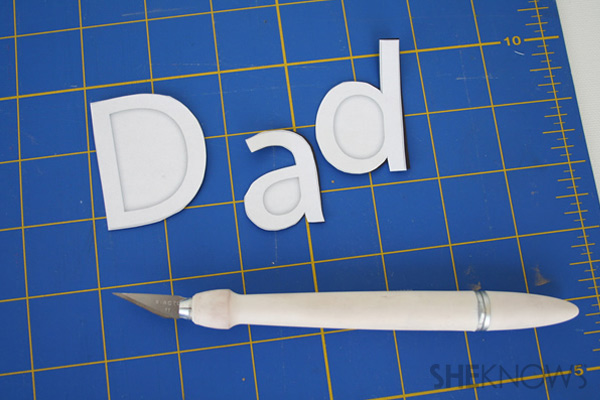
Step 3: Glue the letters to the front of the large envelope.
Image may be NSFW.
Clik here to view.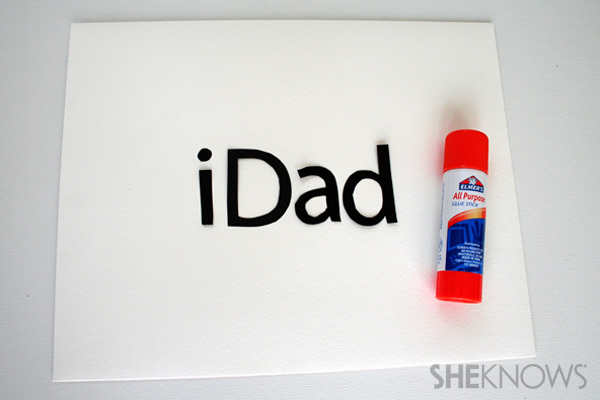
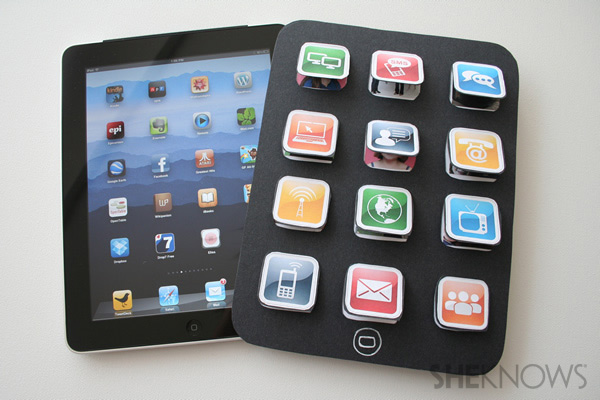
Final project: iDad homemade Father's Day card
Image may be NSFW.
Clik here to view.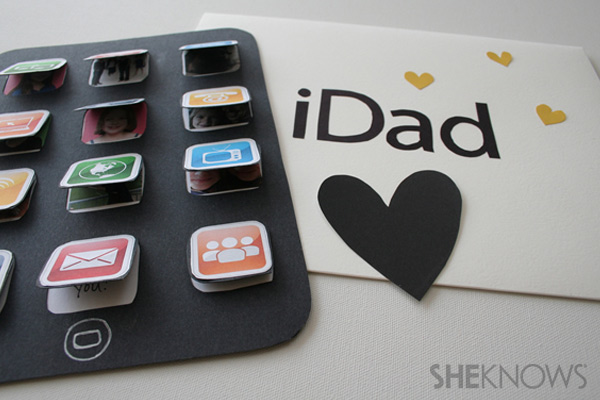
Image may be NSFW.
Clik here to view.
More Father's Day gifts
Better than socks: Unforgettable Father's Day gifts
Timeless gifts for Dad
Gourmet gift guide for Dad